Click the diagram to place the table.
The table will appear, and the table properties will appear in the Properties panel.
Use the Table properties to define one or more pages in the table.
Use tables to display numerical output from one or more variables in your simulations.
Note: You can copy the output from a table into a word processor document or a spreadsheet. You can also import and export data, and can even create dynamic links to external data, keeping the data synced with the model. For more information, see Importing and Exporting Data.
Click the diagram to place the table.
The table will appear, and the table properties will appear in the Properties panel.
Use the Table properties to define one or more pages in the table.
Use the Table Settings tab of the Properties panel to define your table.

Click the table to show the Properties panel. Click the Settings tab if it's not selected.
Enter a table name in the Title box. The name will appear in the header of the table.
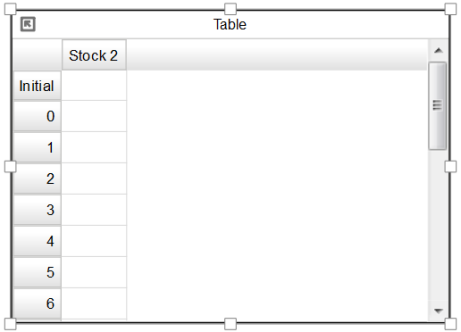
The first item in the Item List is already created. Click this item, and specify a variable to use for it.
The item name will change to the name of the selected variable, and the table will be populated.
To add another page, click the ![]() button at the top of the Properties panel.
button at the top of the Properties panel.
Repeat steps 2 - 3 to define the table for the second page. For more information on creating and moving between pages, see Table Properties.
When you're finished defining pages for the table, click OK.
The table shows the last table you displayed in the Define Table dialog box.
You can turn pages in, move, resize, or minimize the table. For more information, see Working with graphs and tables.
To delete a table item or page:
By default, tables use the format and precision settings of the variables displayed. To change these, go to the Scales and Ranges tab of the properties panel for the variable of interest. You can also override these settings for a table.
Note: The selections you make on the table for precision, units, and scaling affect the display of the variable in the table only.
In the table, right-click, then select Format from the menu that appears. Then select Multiple, the name of the variable you want to change, or Time.
If you select Multiple the Format Numbers dialog box will open.
If you select a specific variable the Format Variable dialog box will open.
If you select time, a list of the Time Labels defined for this model will appear. To add a time label see Manage Time Labels dialog box
By default, tables adjust column width to fit the contents. You can change the width of columns other than the first (Time or name) column.